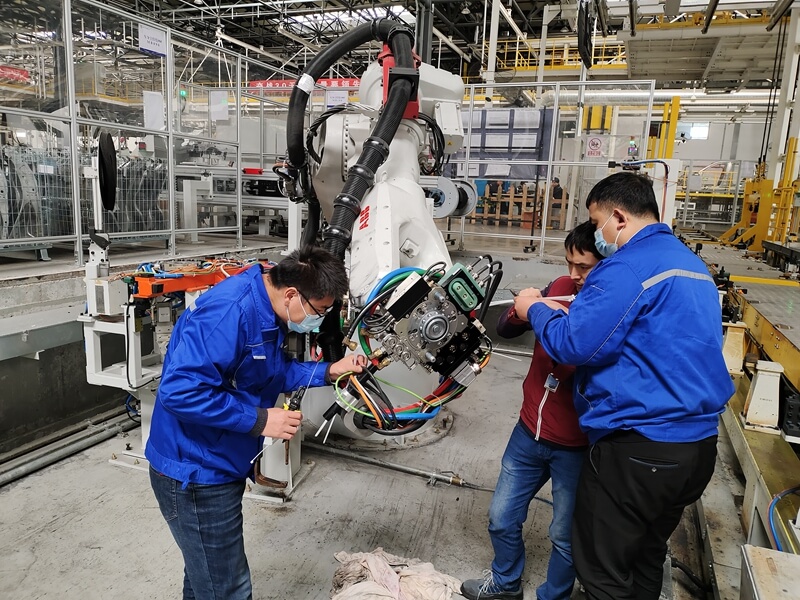
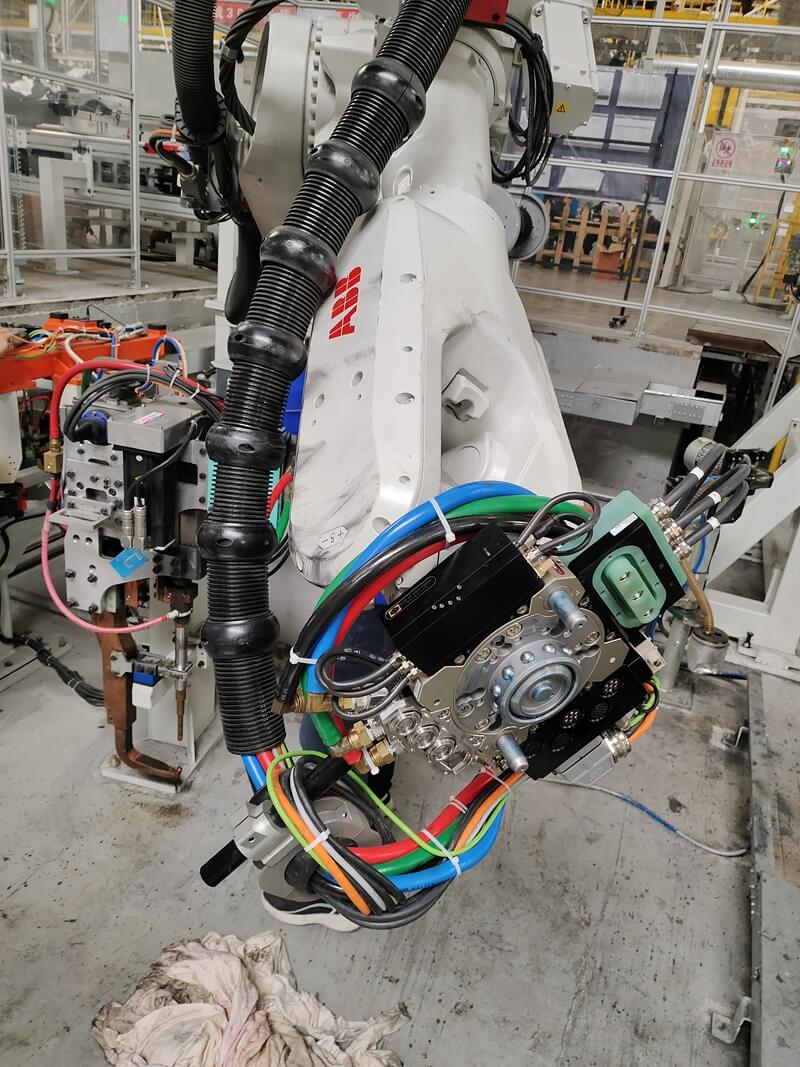
To use a automatic tool change system, you’ll need to follow these steps:
1. Preparation:Make sure that the robot and the automatic tool change system are properly installed, configured and calibrated according to the manufacturer’s instructions. Ensure that the robot is properly programmed for the specific task you want it to perform.
2.Load Tools:Load the tools you need into the automatic tool change system. This can vary depending on the type of automatic tool change system, but typically involves opening the automatic tool change system, inserting the tool, and securing it in place.
3.Connect Power:Connect power to the tool changer and make sure it is properly powered on.

4.Initiate Tool Change:Initiate the automatic tool change system command in the robot controller. This can be done through a programmed subroutine or by manually activating a switch or button on the robot controller.
5.Arm Movement:The robot arm will move to the automatic tool change system and the automatic tool change system mechanism will automatically exchange the tools.
6.Confirm Change:Confirm that the automatic tool change system was successful by checking the status in the robot controller.
7.Resume Task:Once the tool change is complete,the robot can resume its task using the new tool.
Note:Always make sure to follow the manufacturer’s instructions and safety guidelines when using a automatic tool change system. Additionally,it’s recommended to regularly inspect the tool changer and its components for wear and damage to ensure it’s functioning properly.


