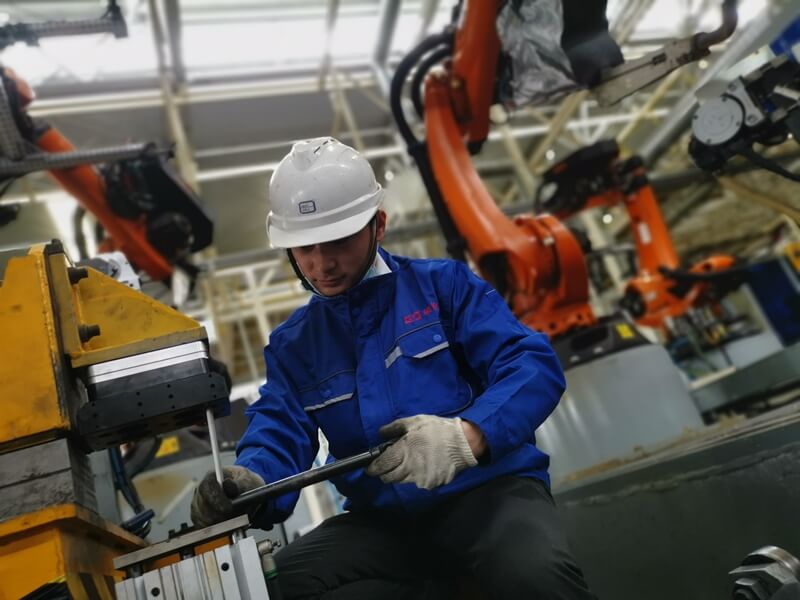
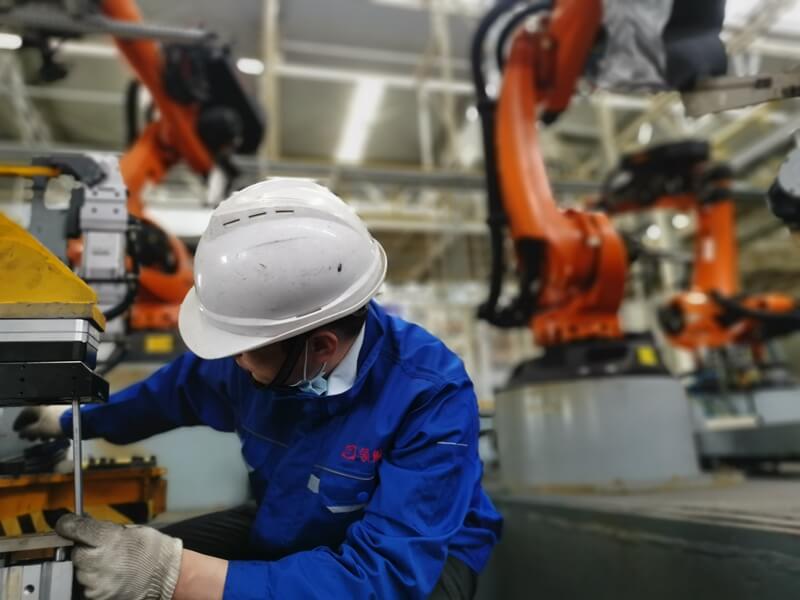
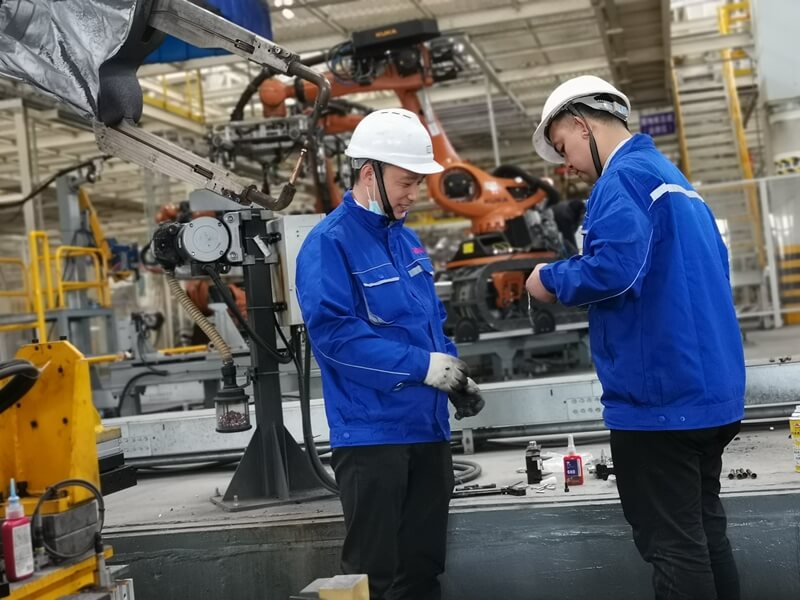
Before servicing or repairing robotic arm tool changer or module, place the tool in the tool holder. Then close and all energized circuits and discharge and clear all stressed connections. Last verify that all circuits are de-energized.
The cleanliness of the working environment seriously affects the trouble-free operation of the robotic arm tool changer. The dirtier the environment, the greater the need for protection against debris. It may be necessary to protect the entire end gripper tool, main plate, tool plate and all modules.
Protective Measures Include
- Place tools away from chip generators.
- Tool holder mounting cover.
- Guards, deflectors, air curtains and similar equipment installed on end-grip tools and tool holders.
Notice
Make sure the tool is securely supported or placed in the tool holder and all energy connections (eg, electrical, air, water, etc.) are turned off;
Otherwise, do not perform maintenance or repair on the robotic arm tool changer or module. Relieve stress and turn off power according to customer-specific safety norms and policies. Personal injury or equipment damage may occur if the tool is not in place and the circuit is energized.

Regular Maintenance Plan
The table below provides a visual inspection and regular maintenance schedule. See the Modules section for detailed regular maintenance procedures for all utility modules.
Periodic Maintenance Checklist
Application
General Application
Welding/servo/deburring, foundry work (environmental pollution) |
Tool change frequency
< 1 minute
> 1 minute
all |
Inspection schedule
Weekly
Monthly
Weekly |

Installation Fasteners/Transition Flange Inspection Procedure
1. Check fasteners for proper torque, interference and wear. Tighten and correct as required.
2. Check the balls/locating pins/holes/bearing races for wear and lubrication. Lubricants can become contaminated with debris over time. It is therefore recommended to thoroughly clean the existing grease and replace with new grease as needed.
3. Check whether the positioning pin/bushing is excessively worn. Excessive wear on dowel pins/bushings may be a sign of poor robot positioning during pick/drop. Adjust the robot position as needed.
4. Check the tool holder for wear and alignment problems.
5. Check the wear of the ball bearing/bearing race. Severe wear may indicate excessive load.
6. Sensors and cables
7. Check whether the sensor cable connector is tight. Tighten the connection if it is loose.
8. Inspect the sensor cable for damage, cuts and abrasions. Replace if necessary.
9. Check hose connections for tightness and leaks as needed. Secure or replace hose connections if leaking or loose.
10. Check the hose for interference, wear, cuts and leaks. Replace as needed.
11. Check the sealing ring for wear, abrasion and cuts.
12. Inspect electrical contacts/pins for damage, debris and stuck/burnt pins. Remove or replace as required.


